
Roasted Garlic Pickle White Bean Dip
This roasted garlic pickle white bean dip combines creamy white beans, tangy pickles, and sweet roasted garlic for a high-protein appetizer that's ready in 20 minutes. Perfect for parties, game day, or a healthy snack.
This roasted garlic pickle white bean dip is the unexpected party hero you didn't know you needed. It's creamy, tangy, and packed with plant-based protein — all made with simple pantry staples. If you love the briny pop of pickles and the mellow sweetness of roasted garlic, this dip will become a regular in your rotation. Give it a try for your next gathering or just a satisfying snack.
Whether you're hosting a game day party, packing lunches, or looking for a high-protein dip to keep you full, this recipe delivers. It comes together in about 20 minutes (most of that is roasting garlic), requires zero fancy equipment, and tastes even better after a day in the fridge. The combination of smooth white beans, tangy dill pickles, and roasted garlic creates a flavor that will have everyone asking for the recipe.
Plus, this dip is naturally vegan, gluten-free, and dairy-free, making it a crowd-pleaser for various dietary needs. It's also budget-friendly: a can of white beans and a few pickles are all it takes to whip up something delicious. Ready to make it? Let's dive in.
Why You'll Love This Recipe
- Incredibly easy: Just roast garlic, then blend everything in a food processor. No chopping, no complicated steps.
- High in protein: White beans provide a solid protein boost, making this dip a satisfying snack or appetizer.
- Bold, crave-worthy flavor: Roasted garlic adds sweetness, pickles bring tangy brininess, and a touch of dill ties it all together.
- Make-ahead friendly: The flavors meld and improve overnight. Perfect for busy hosts.
- Versatile: Serve with crackers, veggies, pita, or use as a sandwich spread. It works for parties, meal prep, or a quick lunch.
- Healthier alternative: Packed with fiber and protein, lower in fat than traditional creamy dips.
- Budget-friendly: Uses inexpensive canned beans and pantry staples.
- Crowd-pleaser: Even pickle skeptics love this dip — the flavor is balanced and not overwhelmingly pickley.
Ingredients
- 1 head garlic
- 1 teaspoon olive oil (for roasting garlic)
- 1 can (15 ounces) white beans (cannellini or great northern), drained and rinsed
- 1/2 cup dill pickles, chopped (about 3-4 medium pickles)
- 3 tablespoons pickle juice (from the jar)
- 2 tablespoons tahini (or substitute Greek yogurt for a non-vegan version)
- 2 tablespoons fresh lemon juice (about half a lemon)
- 1/2 teaspoon dried dill (or 1 tablespoon fresh dill)
- 1/4 teaspoon salt (or to taste)
- 1/4 teaspoon black pepper
- 2 tablespoons extra virgin olive oil (for the dip)
- Optional garnish: extra chopped pickles, fresh dill, drizzle of olive oil, flaky salt
Optional Substitutions
- White beans: Cannellini, great northern, or even chickpeas work. Chickpeas will yield a slightly nuttier flavor and thicker texture.
- Tahini: Substitute with Greek yogurt for a creamier, tangy dip (not dairy-free). Sunflower seed butter also works for a nut-free version.
- Pickles: Use bread-and-butter pickles for a sweeter dip, or spicy pickles for heat. Avoid sweet gherkins as they can make the dip too sugary.
- Pickle juice: If you skip pickles, use a combination of vinegar (apple cider or white) and water with a pinch of salt and dill.
- Roasted garlic: Short on time? Use 2-3 raw garlic cloves (the flavor will be sharper) or 1 teaspoon garlic powder.
- Fresh dill: Substitute with 1 teaspoon dried dill or 1/2 teaspoon dill seed.
- Olive oil: Use avocado oil or any neutral oil for a milder flavor.
- Lemon juice: Apple cider vinegar can replace lemon juice for extra tang.
Instructions
- Preheat the oven to 400°F (200°C).
- Prepare the garlic: Slice off the top of the garlic head to expose the cloves. Place on a piece of foil, drizzle with 1 teaspoon olive oil, and wrap tightly. Roast for 30-35 minutes until cloves are soft and golden. Let cool slightly.
- While garlic roasts, chop the pickles into small pieces — aim for about 1/4-inch dice so you get little bursts of pickle in every bite.
- In a food processor, combine the drained white beans, chopped pickles, pickle juice, tahini, lemon juice, dried dill, salt, pepper, and 2 tablespoons olive oil.
- Squeeze the roasted garlic cloves out of their skins into the food processor. Discard skins.
- Blend until smooth, scraping down the sides as needed. For a chunkier texture, pulse a few times. For a very creamy dip, let it run for a full minute.
- Taste and adjust: Add more salt, pepper, pickle juice, or lemon juice to your preference. The dip should be tangy and well-seasoned.
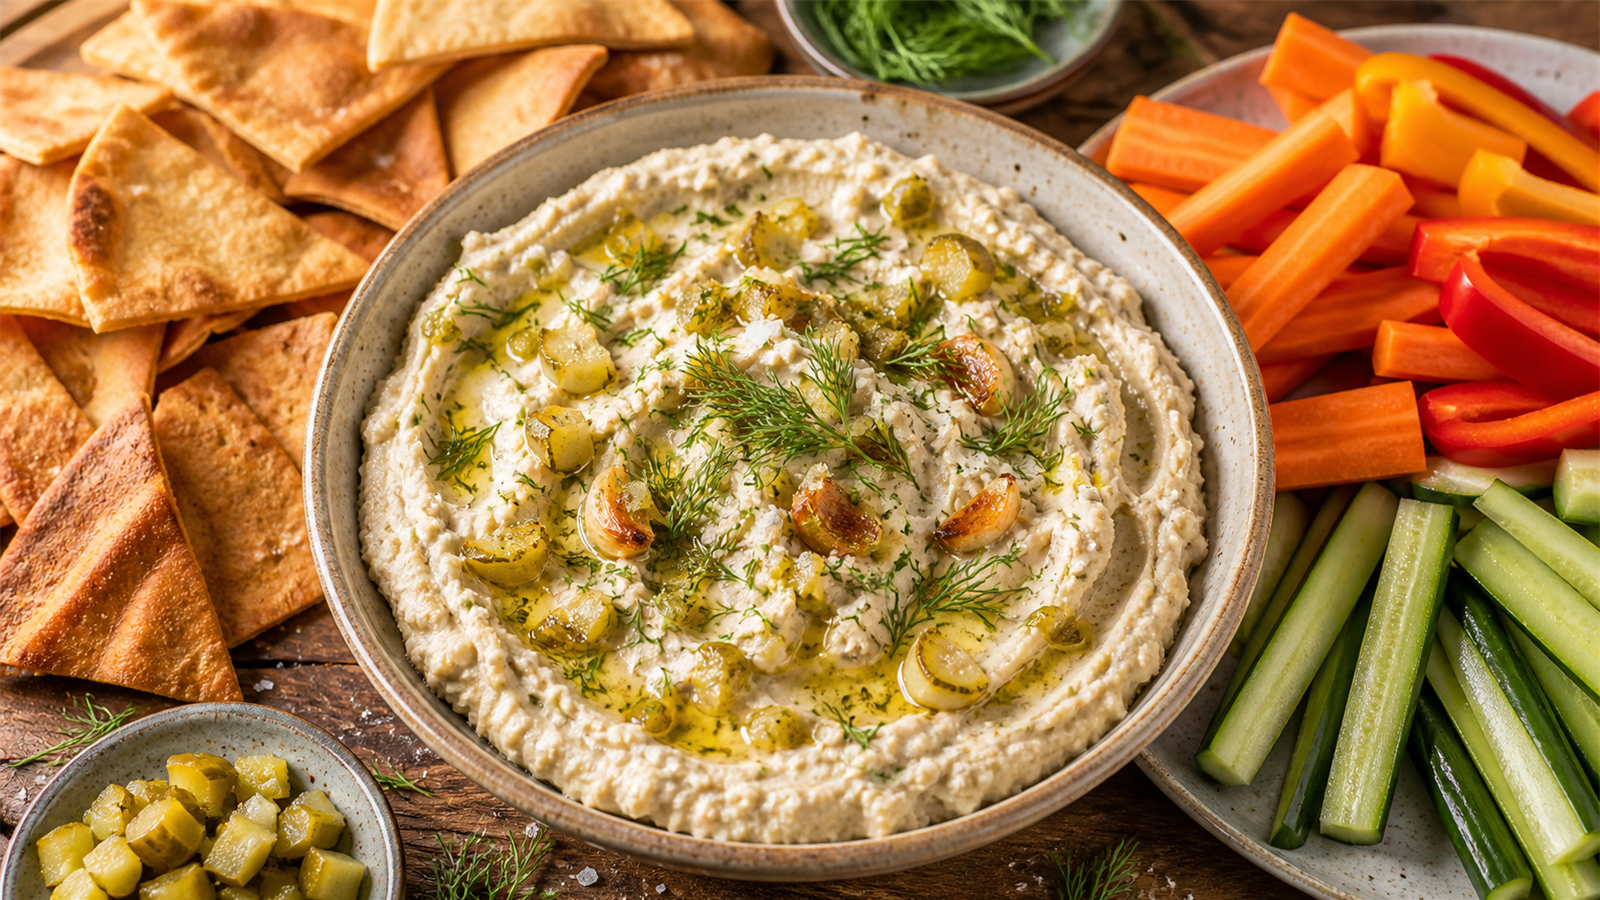
- Transfer to a serving bowl. Garnish with extra chopped pickles, fresh dill, a drizzle of olive oil, and a pinch of flaky salt if desired.
- Serve immediately with your favorite dippers, or refrigerate for at least 30 minutes to let flavors meld.
- Store leftovers in an airtight container in the fridge for up to 5 days.
Pro Tips
- Don't skip roasting the garlic: Raw garlic can be harsh and overpowering. Roasting mellows it into sweet, buttery perfection that complements the pickles beautifully.
- Use a good quality pickle: The dip's flavor heavily depends on the pickles. Choose crisp, tangy dill pickles — Claussen or Bubbies work great. Avoid mushy pickles.
- Adjust consistency: If the dip is too thick, add a tablespoon of pickle juice or water and blend again. For a thicker dip, add a few more beans or a tablespoon of tahini.
- Chill before serving: The dip thickens slightly when cold, and the flavors become more rounded. Make it a few hours ahead or overnight for best results.
- Double the recipe: This dip disappears fast! Double all ingredients for a large party — just make sure your food processor can handle the volume.
- Toast your pita: Serve with warm, toasted pita or crunchy veggies for the best texture contrast.
- Garnish for visual appeal: A sprinkle of fresh dill and a drizzle of olive oil makes the dip look professional with minimal effort.
- Blend in batches if needed: If your food processor is small, pulse the beans first, then add other ingredients in stages.
Variations and Substitutions
- Smoky pickle dip: Add 1/2 teaspoon smoked paprika and 1/4 teaspoon cumin for a smoky, earthy twist.
- Spicy version: Toss in 1/2 teaspoon red pepper flakes or a chopped jalapeño (seeds removed) when blending.
- Herb garden dip: Replace dill with fresh basil, parsley, or chives. Each herb brings a unique freshness.
- Greek-style: Swap tahini for Greek yogurt and add 1/4 cup crumbled feta cheese. Omit salt as feta is salty.
- Avocado pickle dip: Add half a ripe avocado for extra creaminess and healthy fats. Adjust lemon juice to taste.
- Chickpea version: Use chickpeas instead of white beans and add 1/4 teaspoon cumin for a hummus-like dip. Garnish with paprika.
- Sun-dried tomato: Add 1/4 cup chopped sun-dried tomatoes (oil-packed, drained) for a burst of umami.
- Bacon pickle dip: For non-vegetarians, top with crumbled cooked bacon just before serving.
Storage and Reheating
Fridge
Store the dip in an airtight container in the refrigerator for up to 5 days. The flavor improves after a day! Stir before serving as some liquid may separate. If too thick, stir in a little pickle juice or water.
Freezer
This dip freezes well for up to 3 months. Transfer to a freezer-safe container, leaving some headspace. Thaw overnight in the fridge. The texture may be slightly grainier after thawing; blend briefly or stir vigorously to restore creaminess.
Reheating
This dip is best served cold or at room temperature. If you prefer it warm, microwave in 15-second bursts, stirring between, or gently warm on the stove over low heat, adding a splash of water or pickle juice to loosen. Do not boil.
FAQ
Can I use canned beans without rinsing? It's best to rinse and drain canned beans to remove excess sodium and any metallic taste from the canning liquid.
Can I make this dip without a food processor? Yes! Mash the beans with a potato masher or fork, then stir in finely chopped pickles and minced roasted garlic. The texture will be chunkier but still delicious.
How do I roast garlic in the microwave? Place the garlic head (top sliced) in a microwave-safe bowl with 1 tablespoon water, cover, and microwave on high for 2-3 minutes until soft. This is quicker but less caramelized.
Is this dip vegan? Yes, as written it is vegan, dairy-free, and gluten-free. Ensure your tahini has no added honey.
Can I use garlic powder instead of roasted garlic? Yes, but the flavor will be sharper. Start with 1 teaspoon garlic powder and adjust to taste. Add a pinch of sugar to mimic garlic's natural sweetness.
What should I serve with this dip? Crackers, pita chips, tortilla chips, cucumber slices, carrot sticks, bell pepper strips, or spread on sandwiches and wraps.
Can I double the recipe? Absolutely! Double all ingredients and blend in batches if your food processor isn't large enough. This dip is great for parties.
My dip tastes too tangy. How can I fix it? Add a tablespoon of tahini or plain Greek yogurt to mellow the tang, or blend in a few extra white beans.
How long does roasted garlic last? Roasted garlic keeps in the fridge for up to a week in an airtight container. You can also freeze whole cloves for up to 3 months.
Can I use sweet pickles? Yes, but the dip will be sweeter. You may want to reduce or omit any added sugar. Dill pickles give a more classic savory flavor.
Nutrition Information
Nutritional values are estimated and can vary depending on the ingredients used.
Save this recipe
Print and download options unlock in 30 seconds.